Porting Cocos2d to UWP Project
Introduction
This document describes how to port your Cocos2d game to the UWP platform.
This guide applies to Cocos2d versions v3.7 to v3.15. The following article uses Cocos2d v3.15.1 as an example.
Development Environment
- The operating system must be Windows 10 RTM version 10240 or higher.
- Visual Studio 2015, Visual Studio 2017, or Visual Studio 2019 must be installed. Using Visual Studio 2015 as an example. Download link: https://www.visualstudio.com/downloads/download-visual-studio-vs
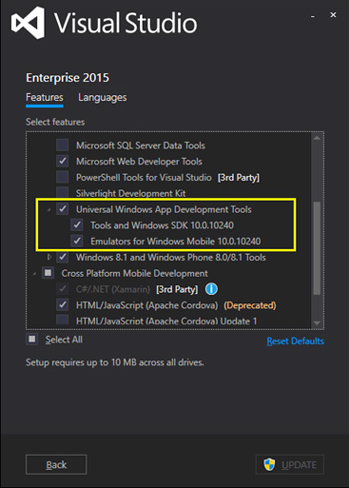
- During the installation of Visual Studio, the Windows 10 SDK needs to be installed. Using SDK 10.0.10240 as an example, as shown in the following image:
Cocos2d v3.15.1 Installation
Installing Python
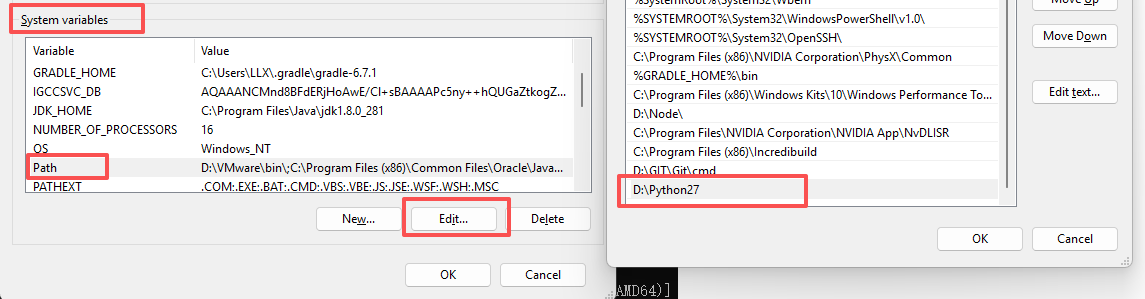
- After downloading the 64-bit installer for Python 2.7.12 from the official website, run the installer—for example, install it to the path
D:\Python27. Right-click "This PC", select "Properties", then "Advanced system settings", and click "Environment Variables". Edit thePathvalue under System Variables and addD:\Python27.
- Open the Command Prompt, type
python, and if the prompt information shows Python 2.7.12, the installation was successful.

Installing Cocos
- Download version 3.15.1 from the Cocos official website Cocos Engine_Game Development Engine:
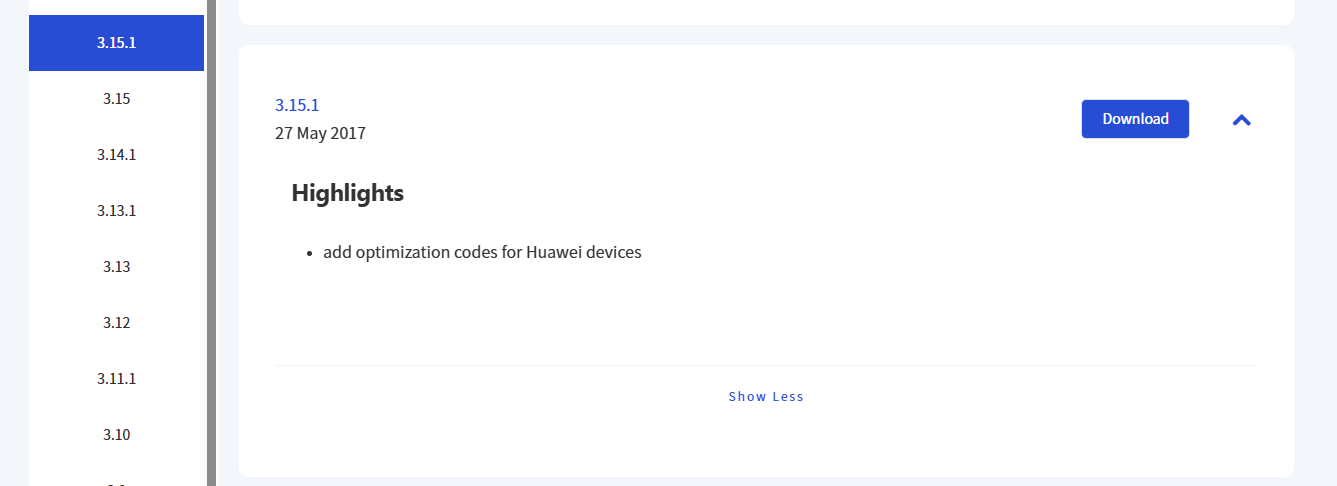
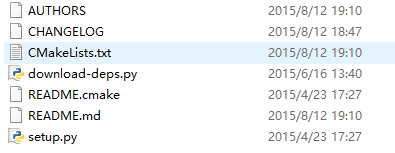
- After downloading version 3.15.1 from the Cocos website, extract it to a local directory, for example, under
D:\cocos315\. In the project directory, there is asetup.pyfile; click this file.
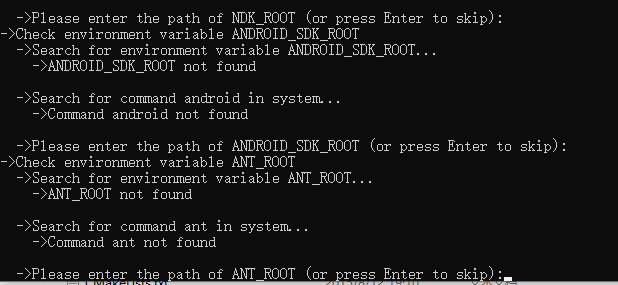
- A command line window will pop up, prompting for Android development environment settings. If you are only configuring the development environment for the UWP platform, you can press Enter directly to skip these three settings.
- After completing the above setup, the Cocos environment variables will be configured. Run Command Prompt as an administrator, type
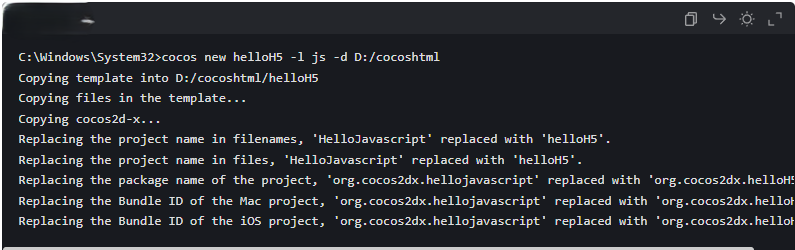
cocos, and the Cocos version information will be displayed. - Next, use the
cocos newcommand in the Command Prompt to create your own Win10 project. For example, if the project name ishelloworld(the actual name can be based on your project), save it toD:\cocos2d-3-15. Enter:cocos new helloworld -p com.coco2dx.org -l cpp -d D:\cocos2d-3-15.
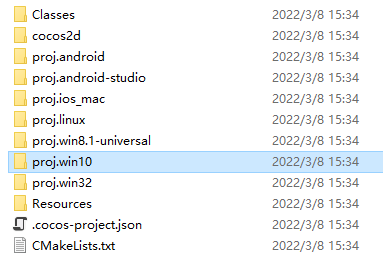
- In the saved path, you can see the
proj.win10folder, which contains the Win10 UWP project.
Compiling the Cocos UWP Project
Modifying the Target Platform Version
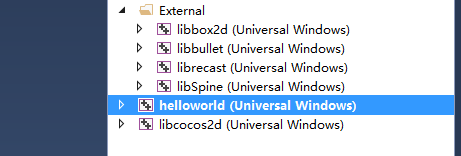
- Open the project file in
proj.win10using VS 2015. You will see six projects; sethelloworldas the startup project.
- Right-click
helloworld, select Properties. You will see that the project's Target Platform Version and Target Platform Minimum Version are both10.0.0.0. These need to be changed to10.0.19041.0:
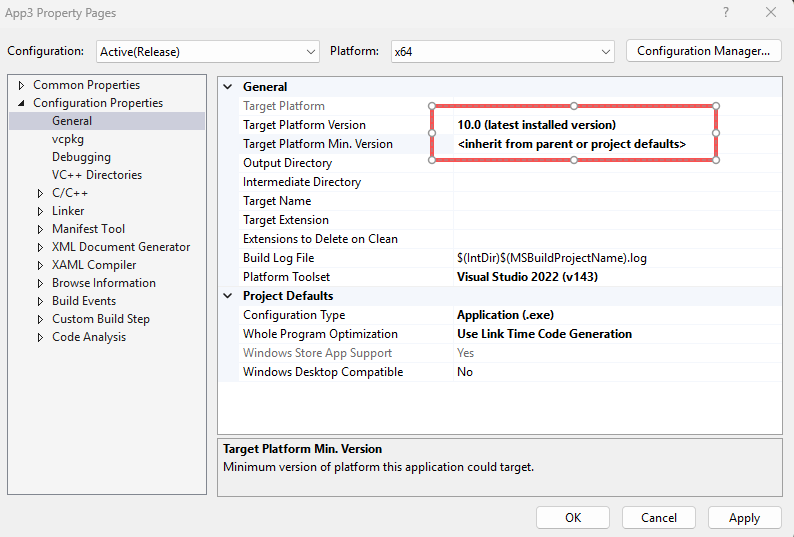

Similarly, the "Target Platform Version" and "Target Platform Minimum Version" for all other projects need to be modified to 10.0.10240.0.
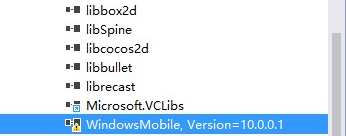
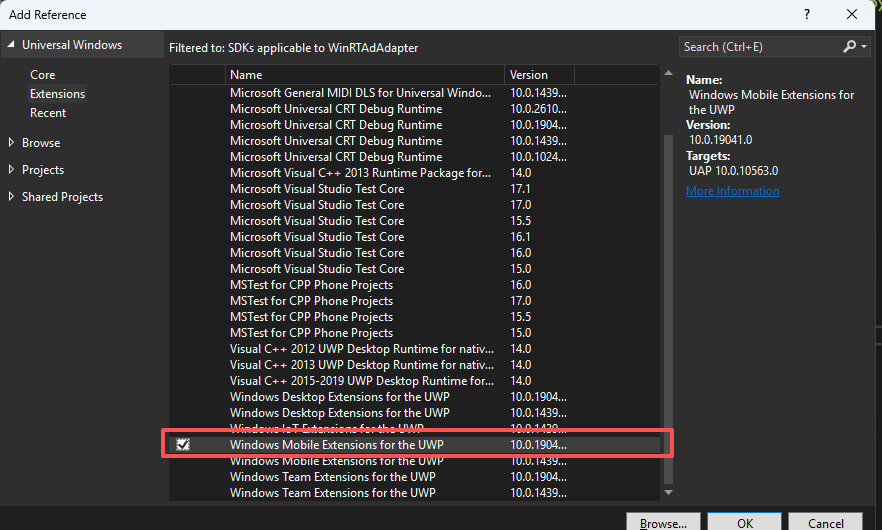
Re-referencing the Windows SDK
Click the References option for the helloworld project. You will see WindowsMobile Version=10.0.0.1. Delete this version and add the Windows Mobile Extensions for the UWP 10.0.10240.0 version of the SDK.
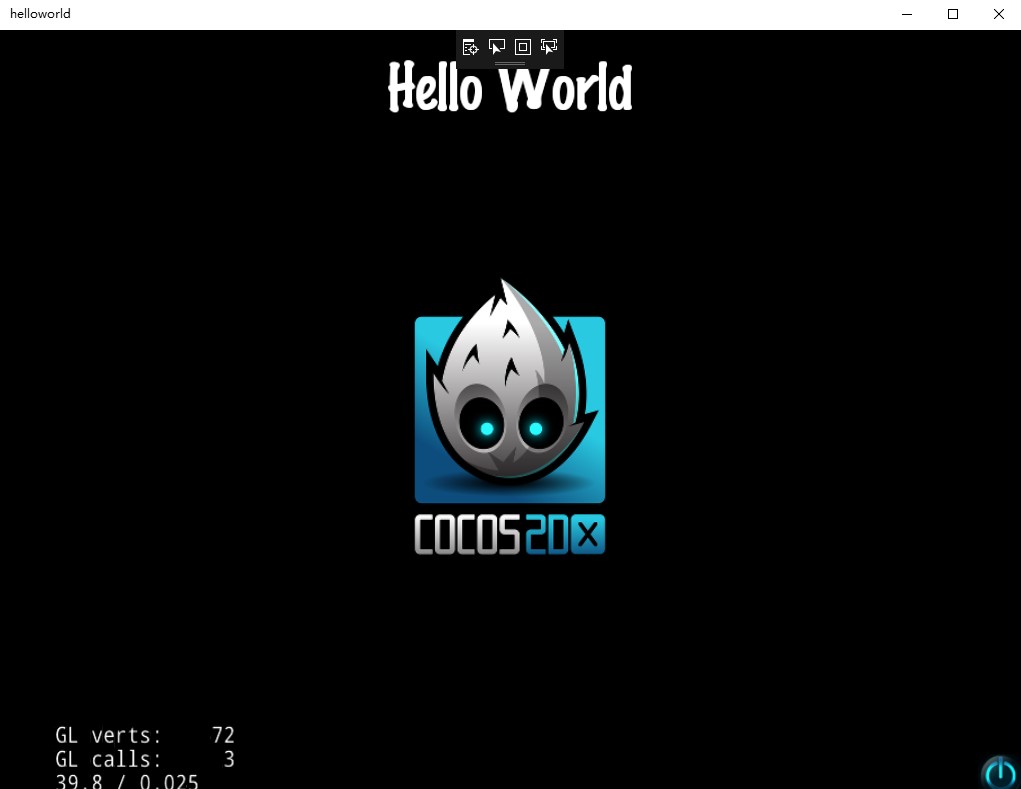
Compiling the UWP Project
After setting up the SDKs as described above, compile and run the project. The following interface will appear:
Note: In the build path of Cocos 3.15.1, the official also directly provides the UWP project solution: cocos2d-win10.sln. You can also open and compile it directly with VS2015, using the same setup method described above.
- After the version porting is complete, you can begin integrating the MG Ads UWP SDK. The MG Ads UWP SDK needs to be integrated into the UWP project.
- Developers integrate the MG Ads UWP SDK. Refer to 【MG Ads UWP SDK Download】